Mailgun
Sending Emails
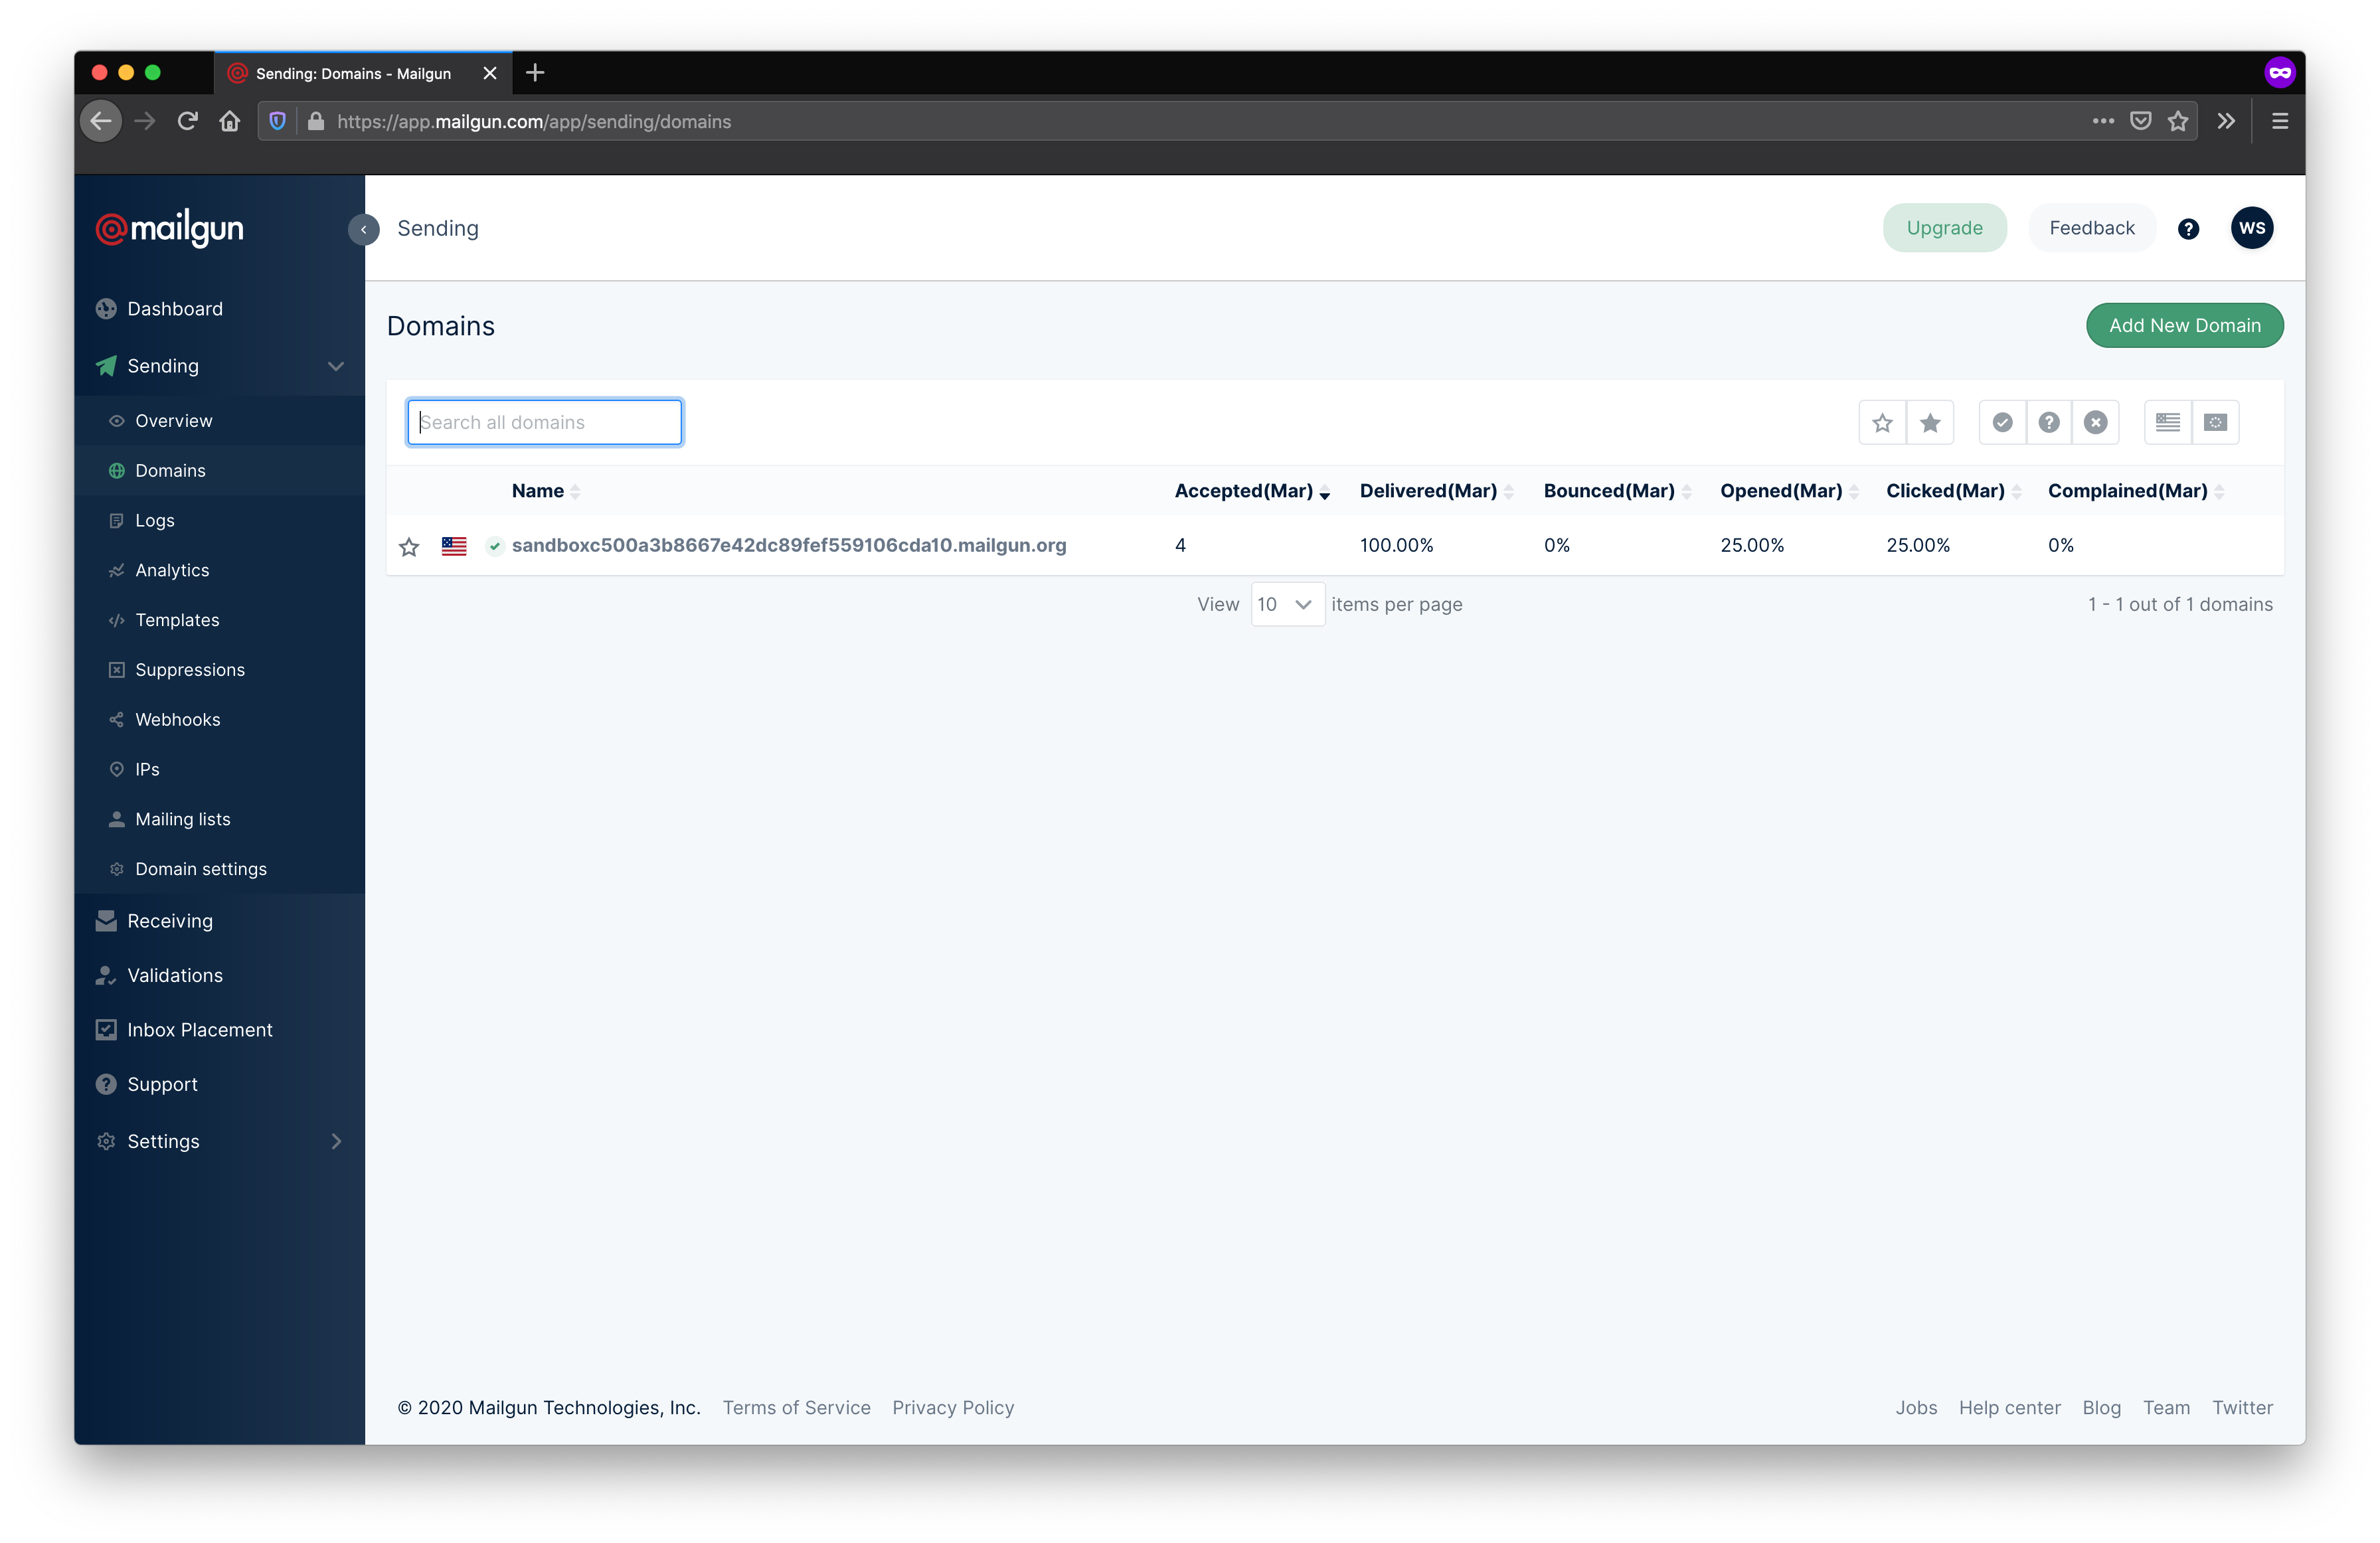
When you first begin, Mailgun will automatically create a sandbox domain that you can use for sending, but to send using your own domain you'll need to create a custom domain. Select Sending then Domains from the menu on the left hand side, then click Add New Domain (you'll need to add credit card details before this button appears).
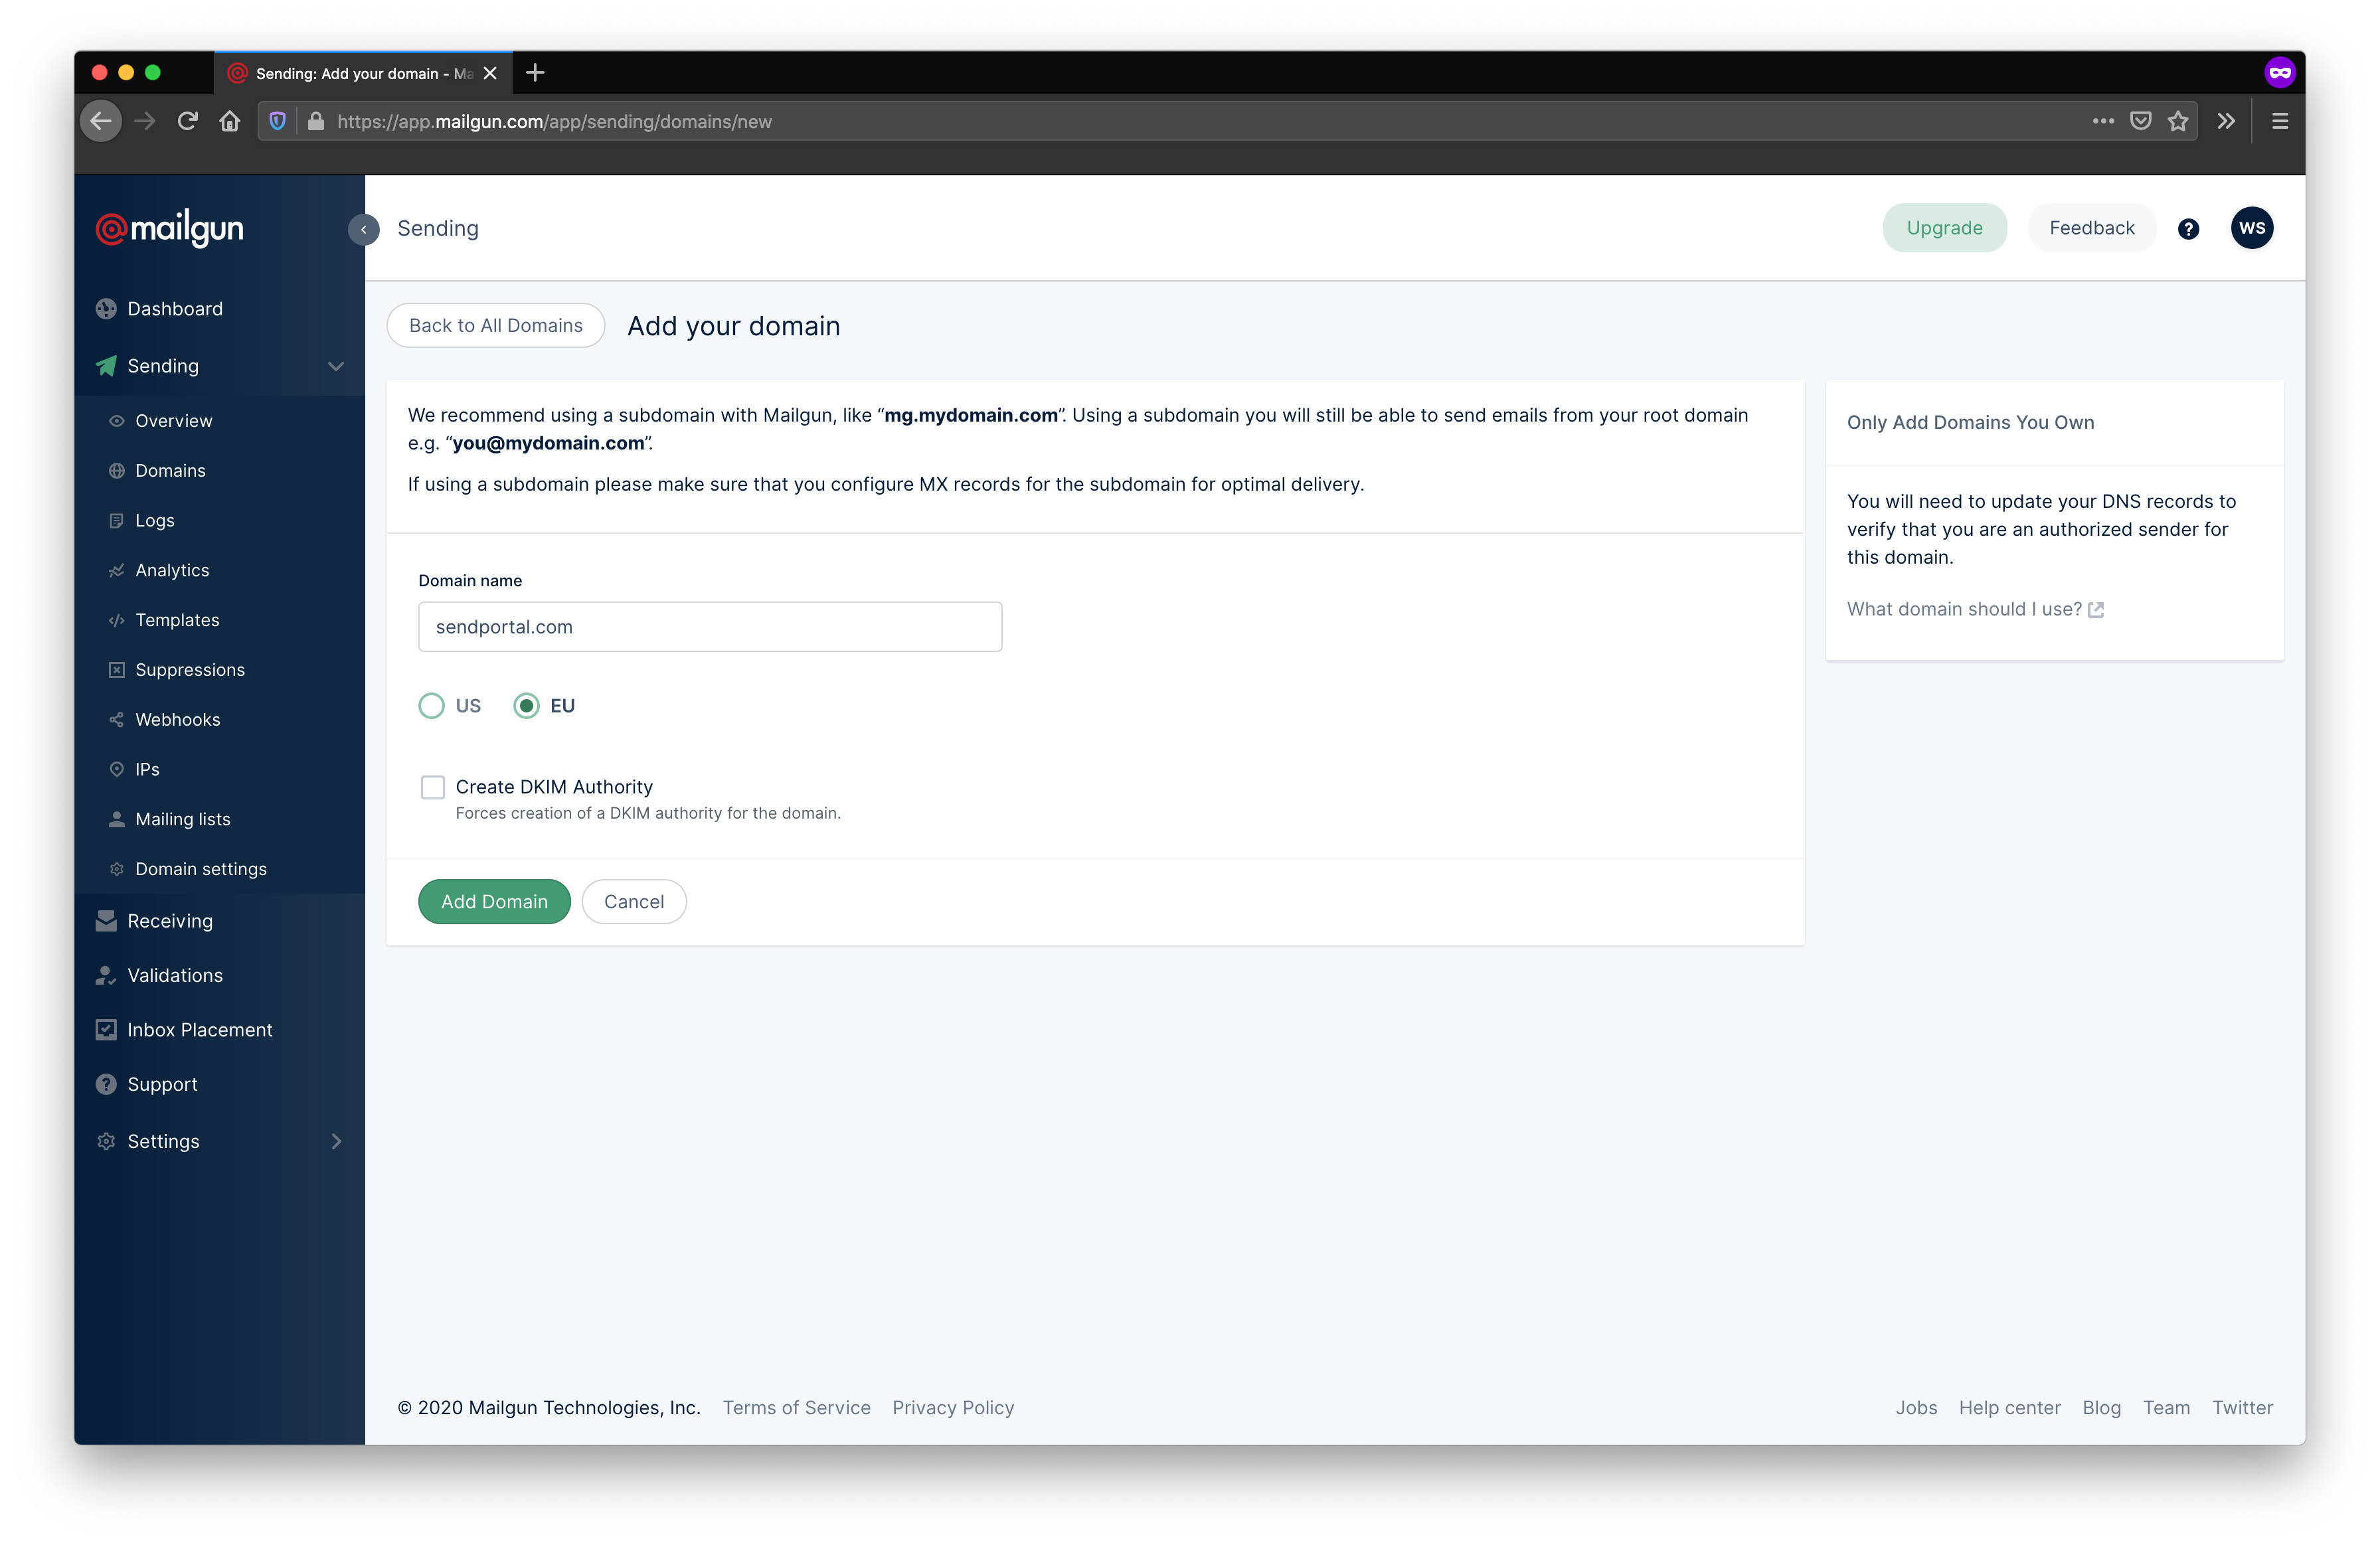
Enter the domain name, choose whichever region makes the most sense for you and click Add Domain.
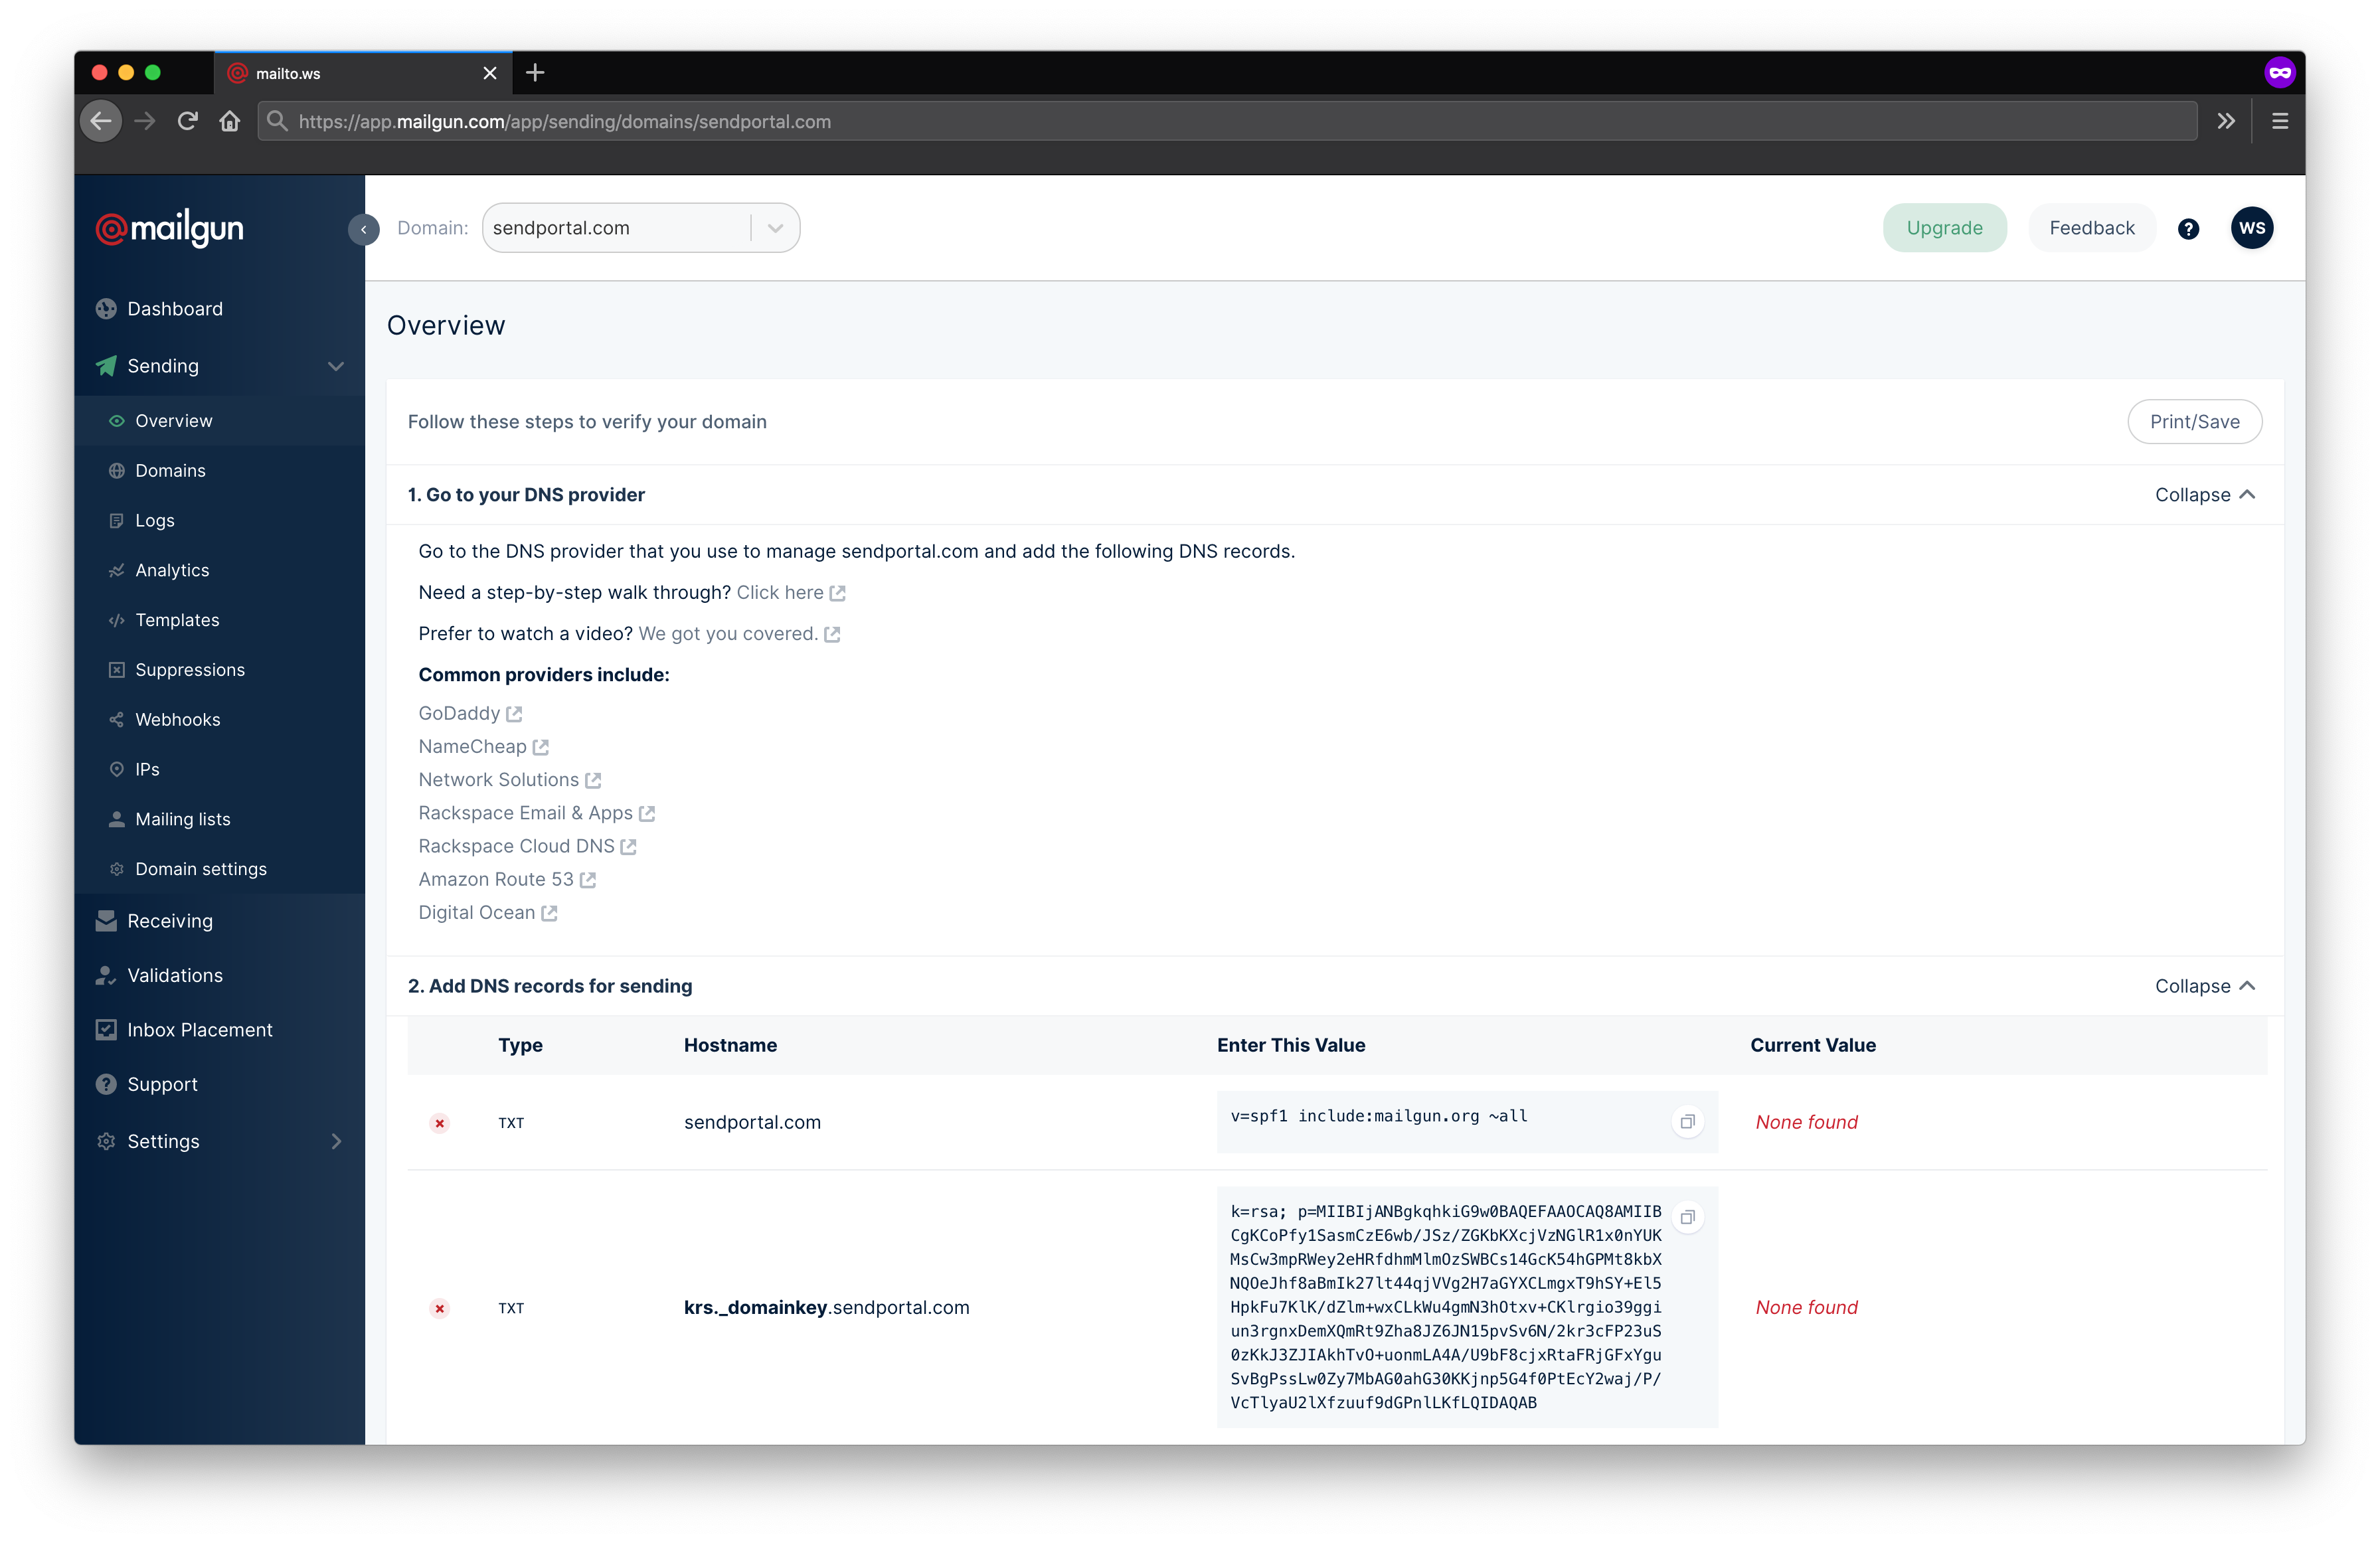
You'll now need to visit the site that you use to manage DNS for the domain provided (usually the domain registrar). The steps to do this are beyond the scope of this documentation as they vary from provider to provider, but you will need to create a TXT entry for the relevant domain and paste in the strings from the Hostname and Enter This Value columns. Once you've added these, click Verify DNS Settings.
You'll now need to copy the Private API Key from Settings > API Keys
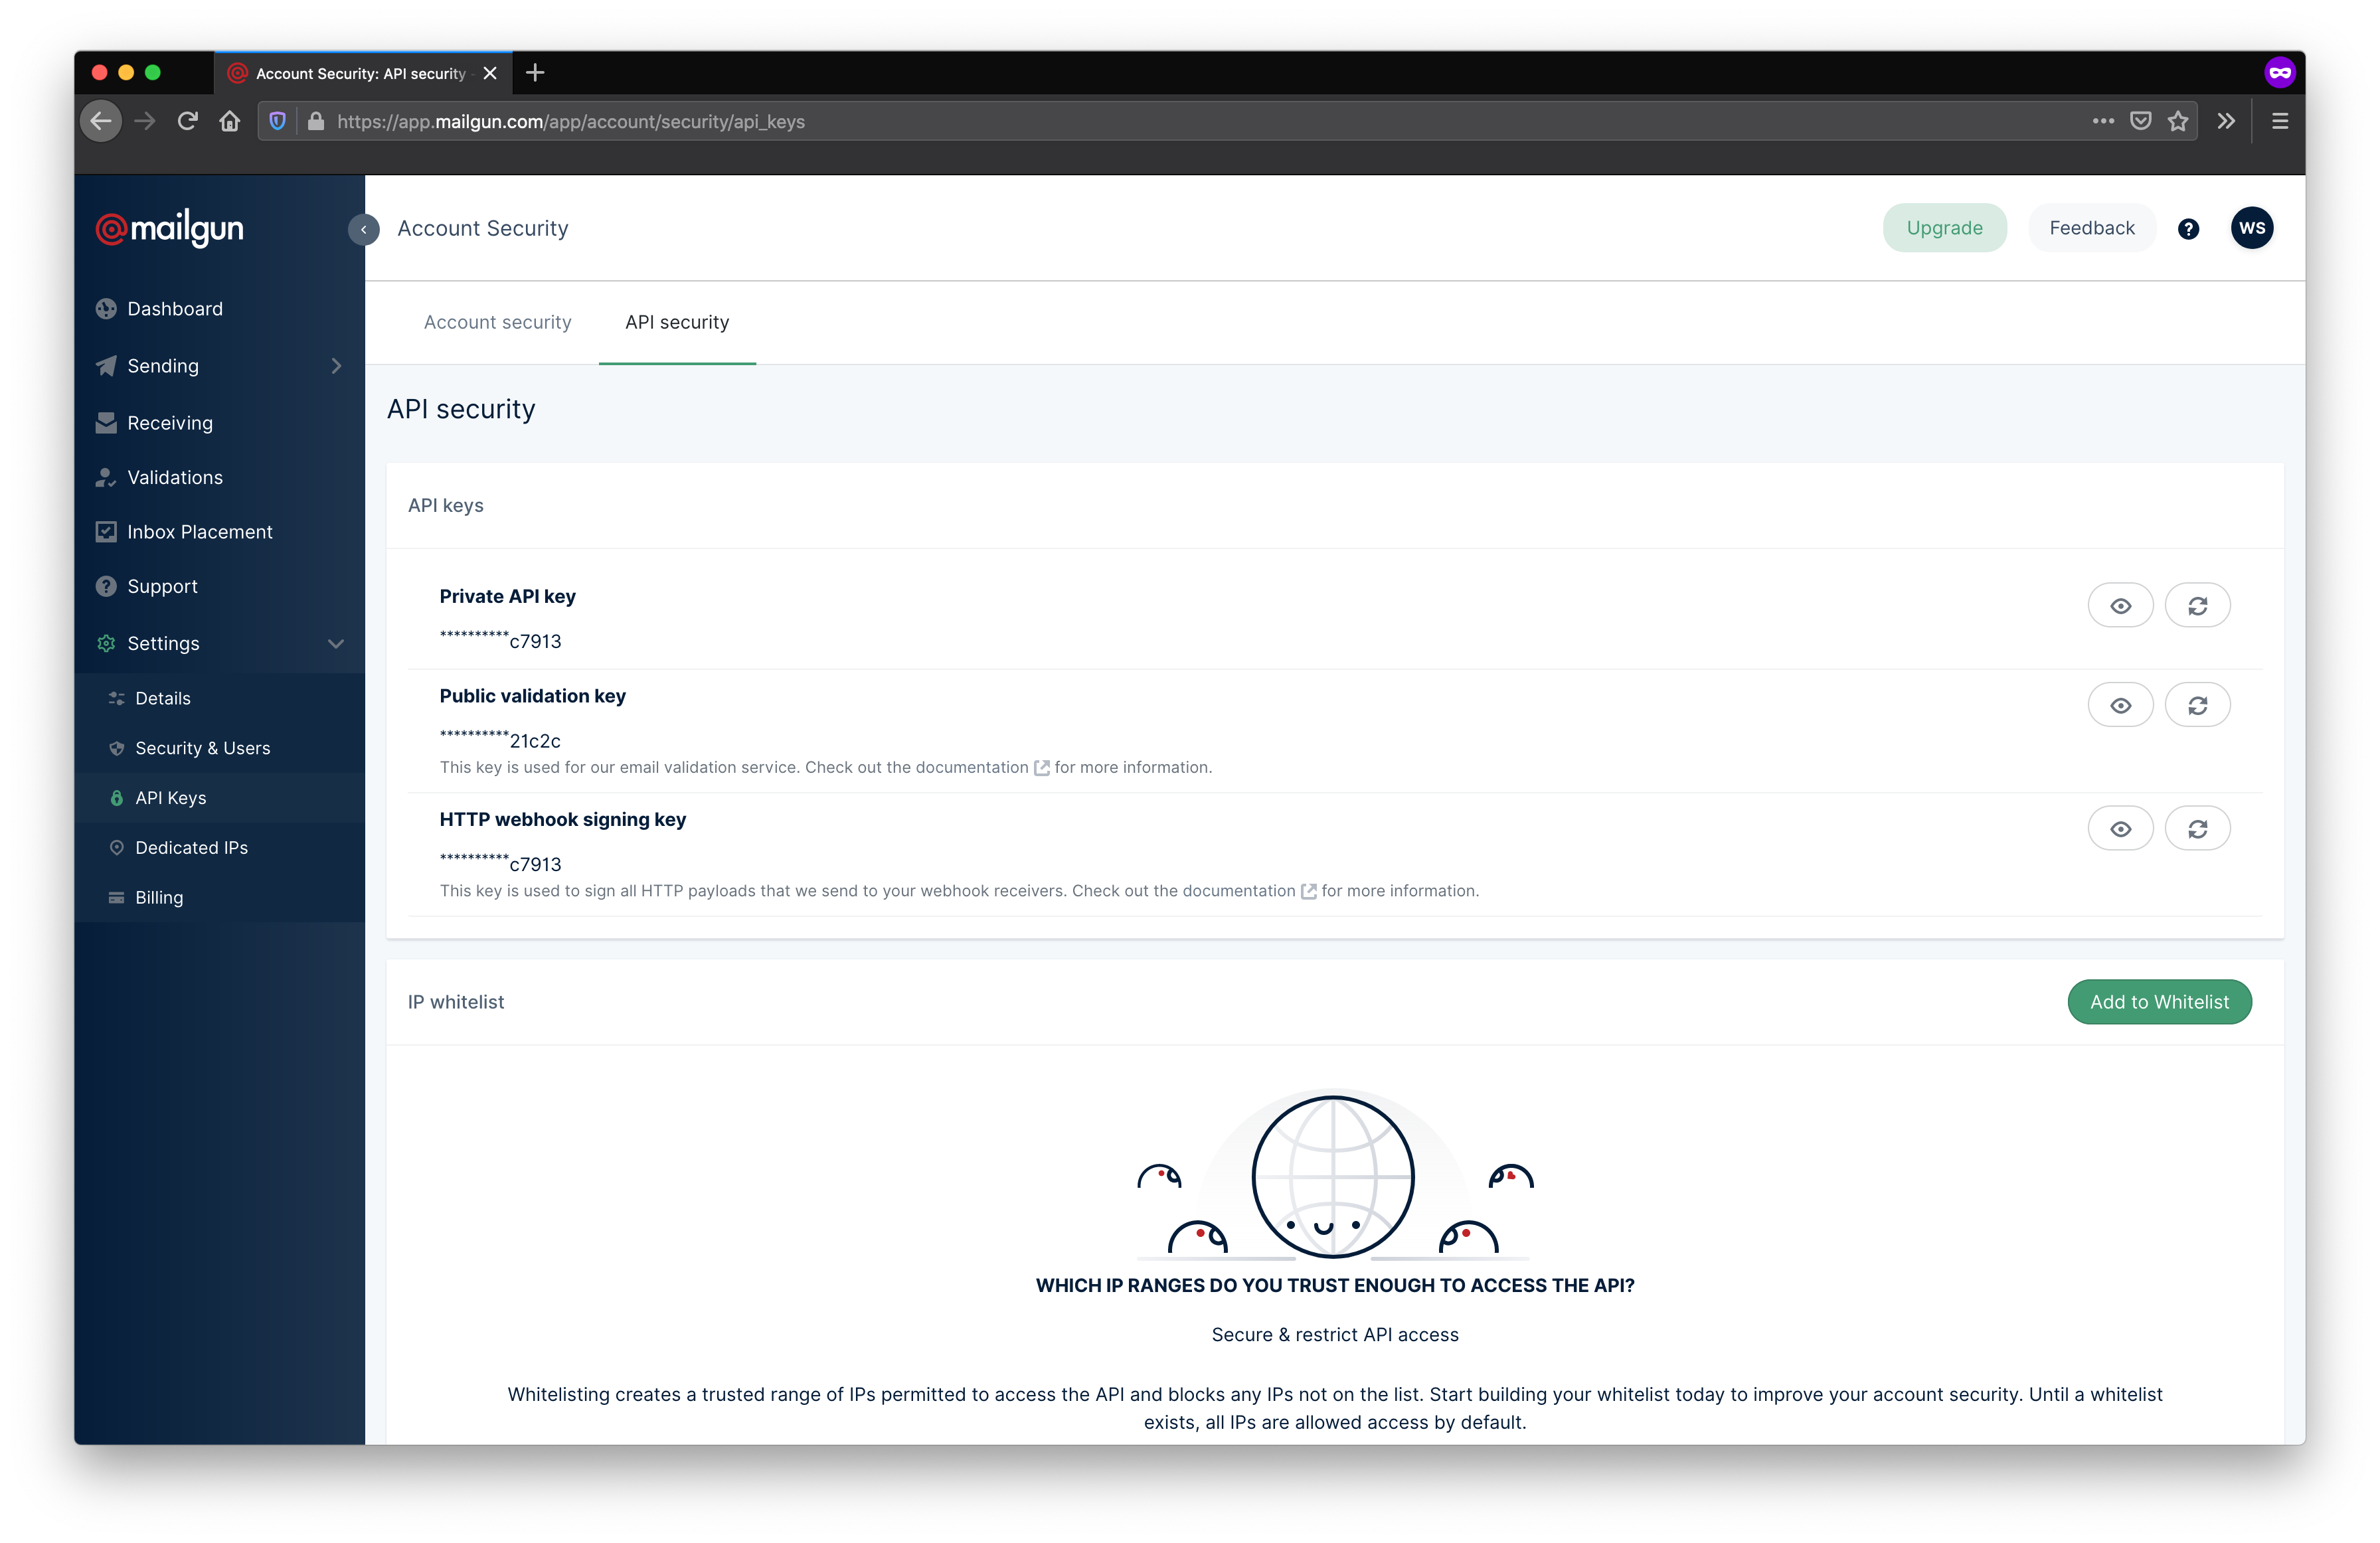
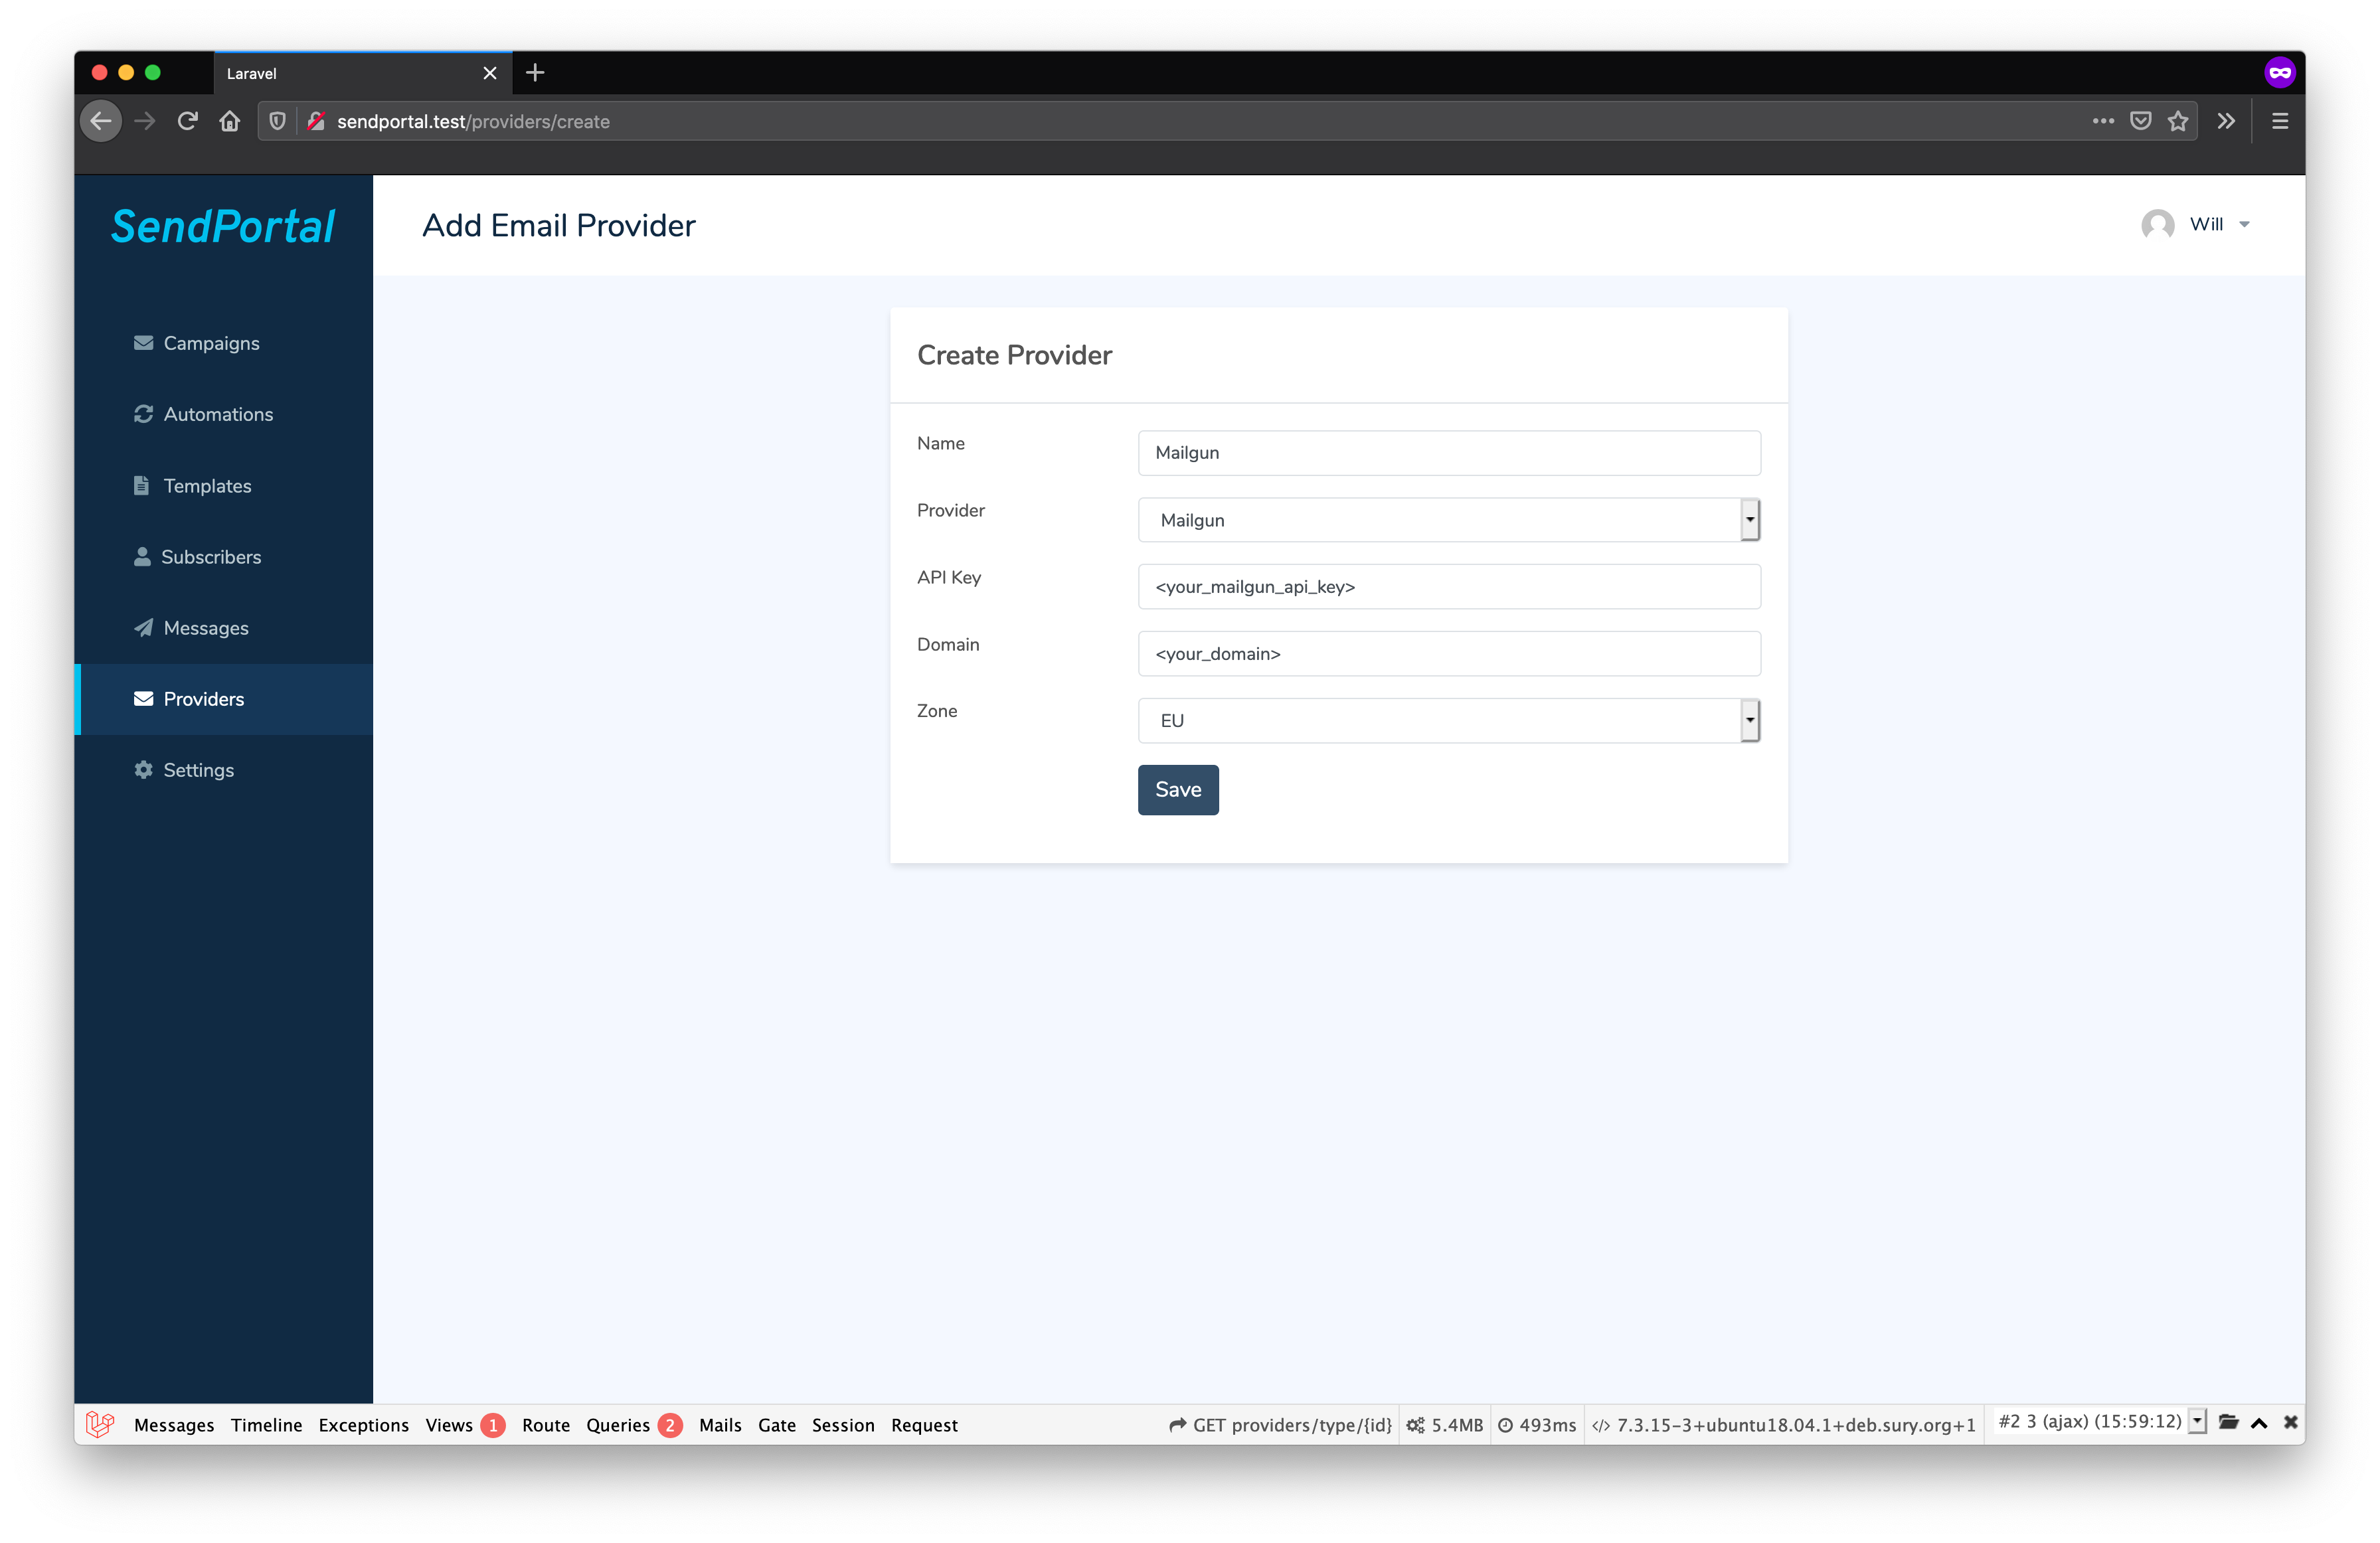
Then paste this into your SendPortal provider configuration.
Tracking
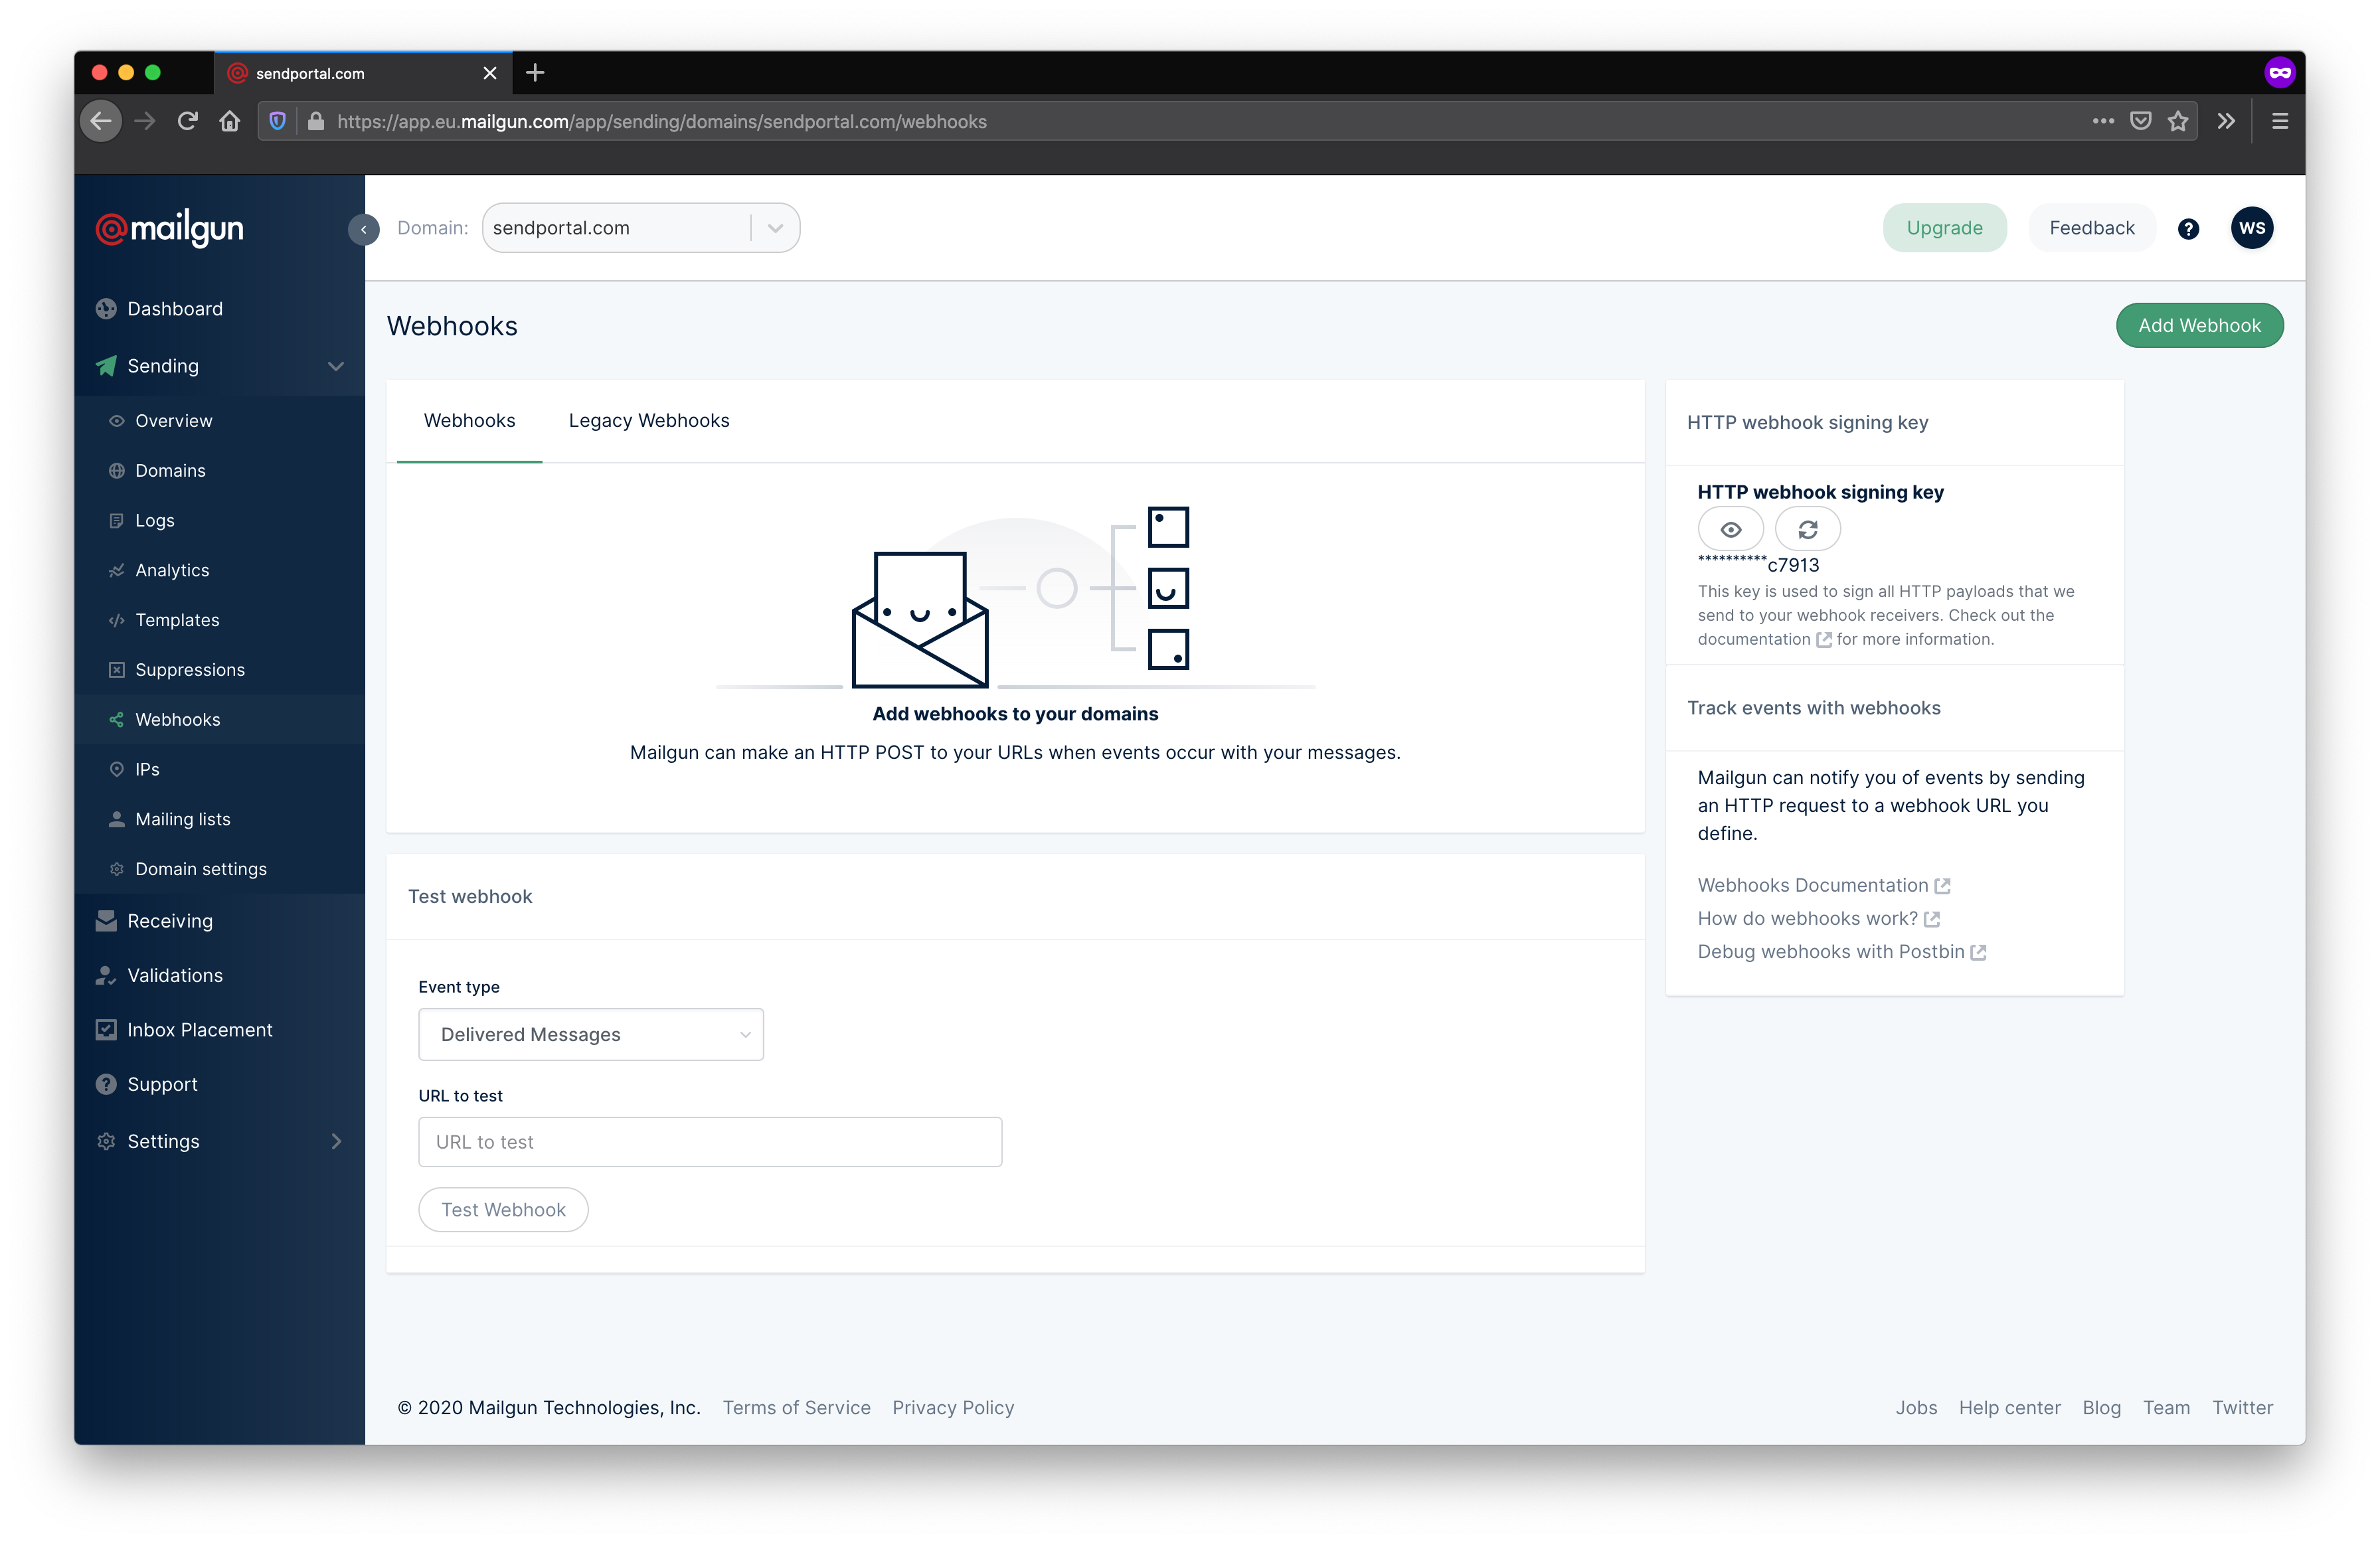
To enable tracking, select Sending then Webhooks from the menu and click the Add Webhook button.
The URL depends on your domain, but must end with /api/v1/webhooks/mailgun. For example, if SendPortal is installed at https://campaigns.marketing.com, then each webhook should point to https://campaigns.marketing.com/api/v1/webhooks/mailgun.
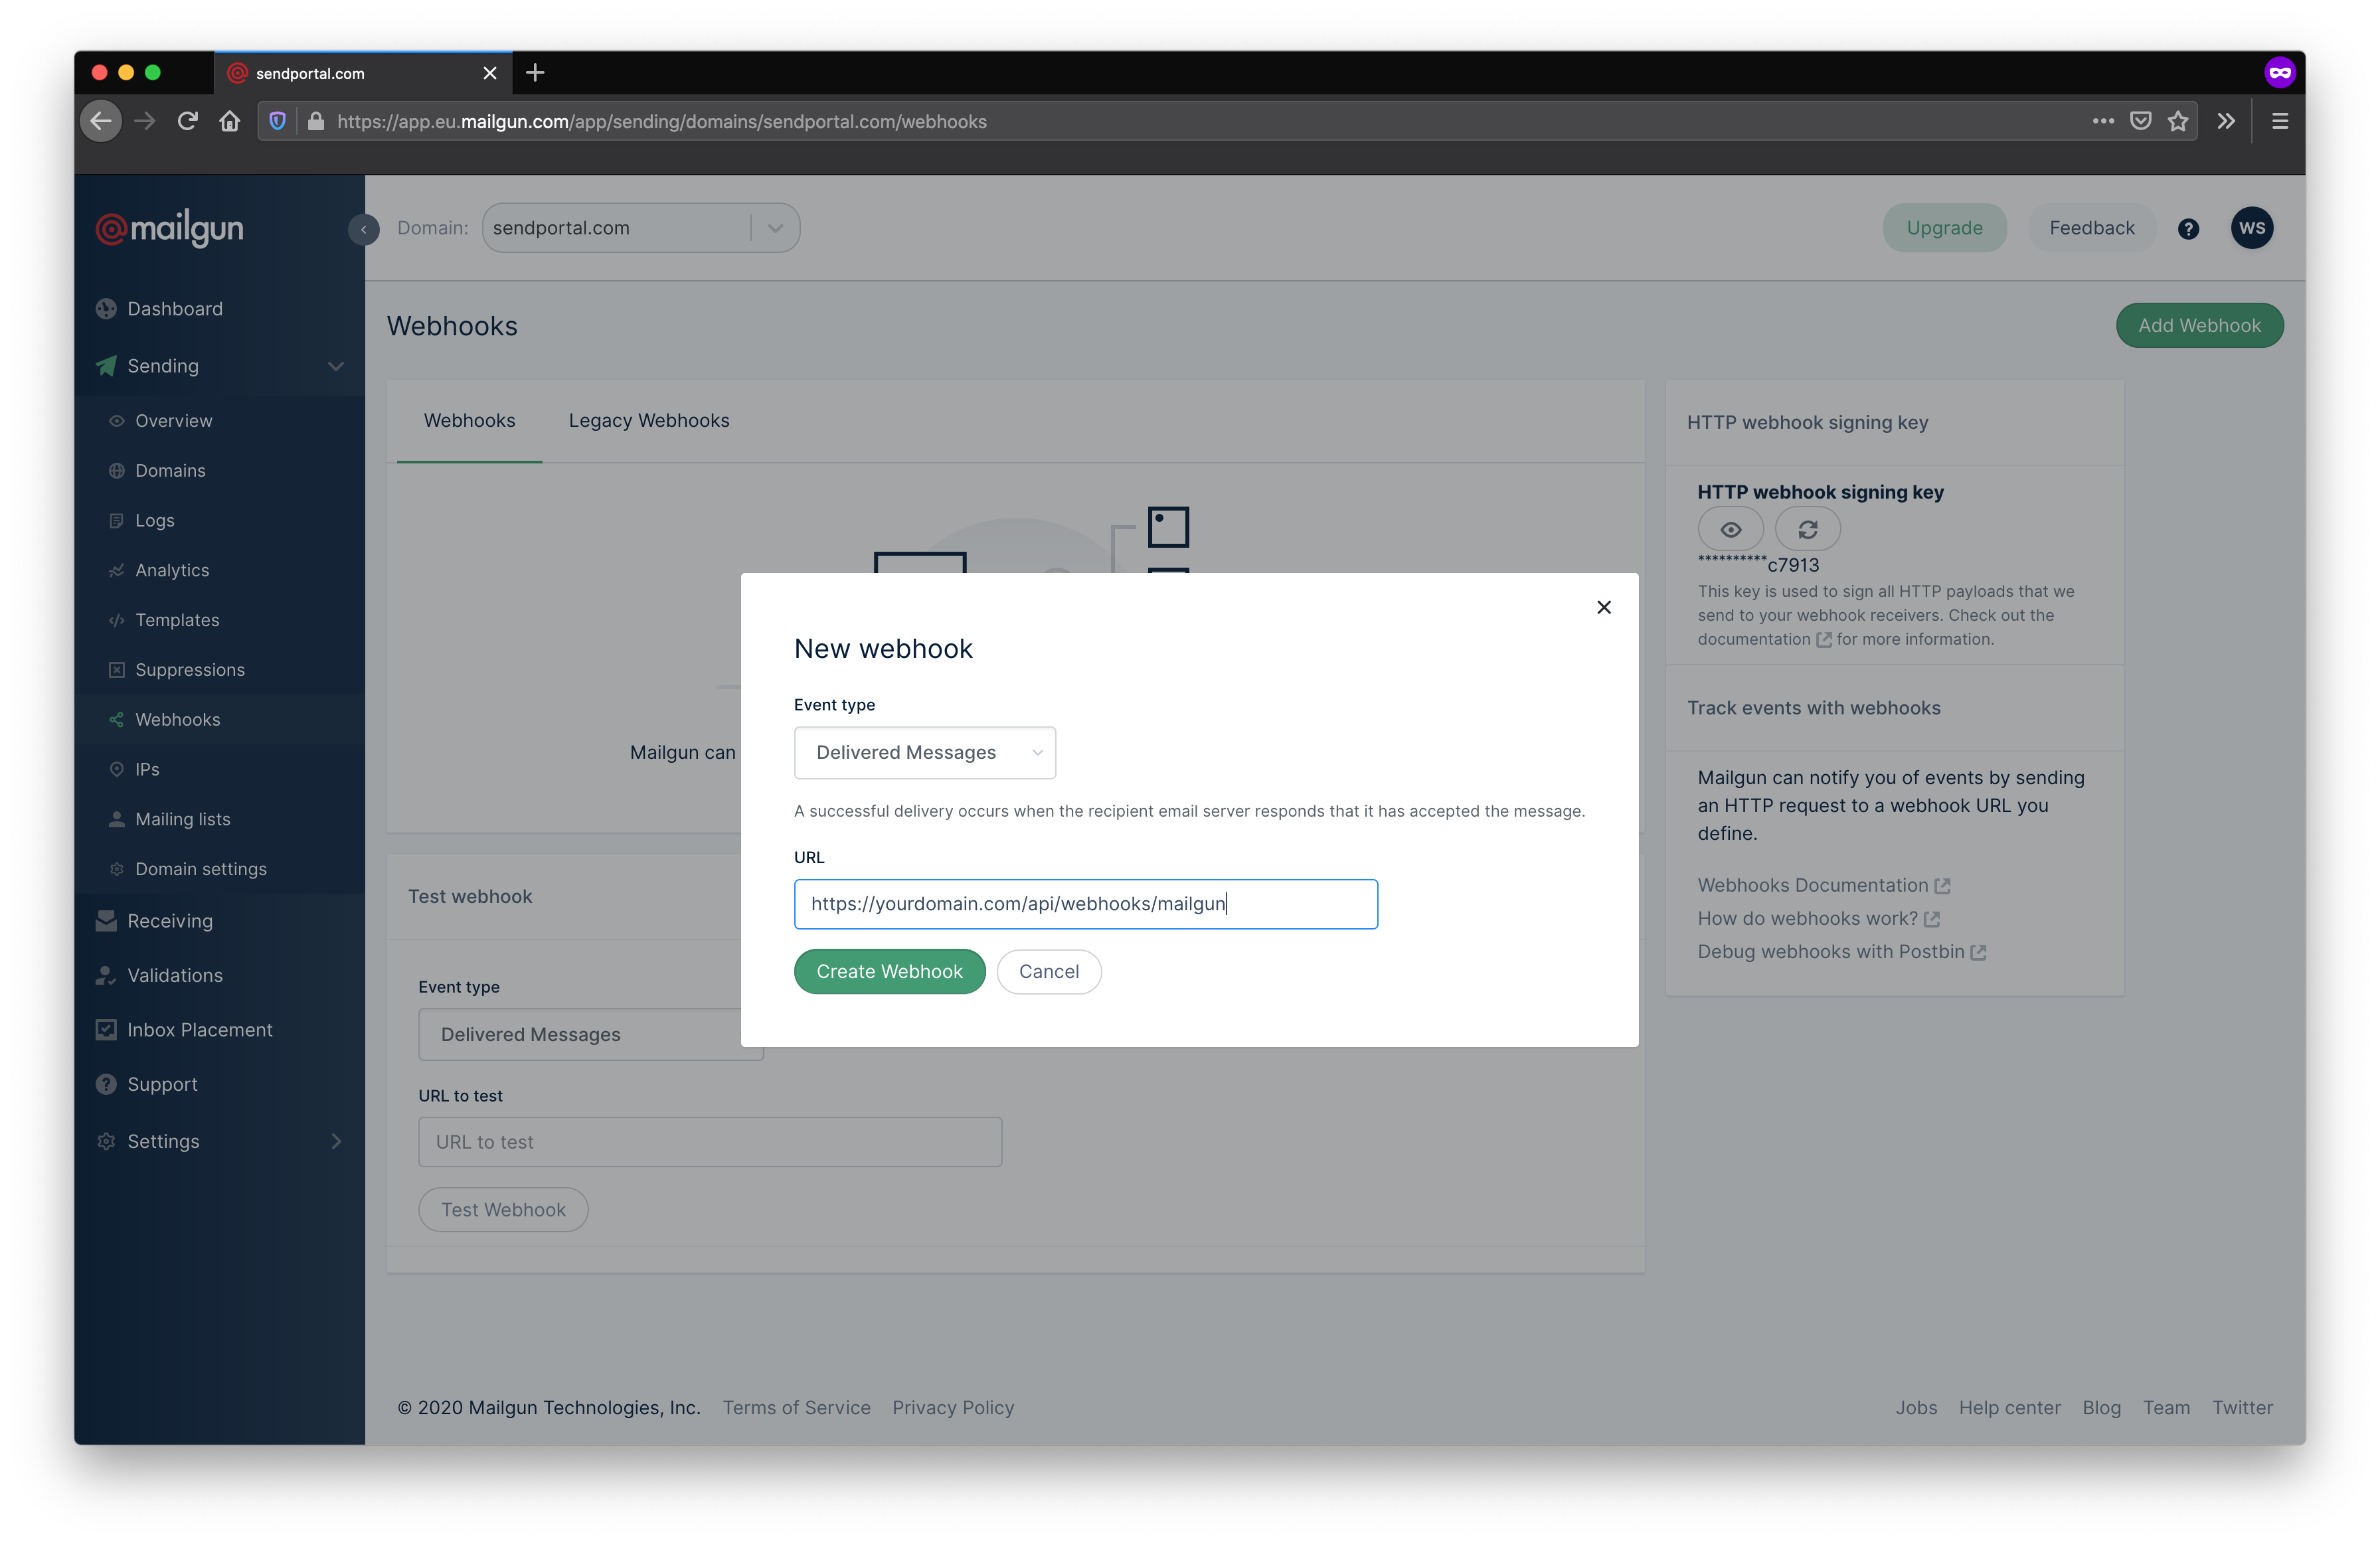
You'll need to add an entry for each type of event you want to track, but the URL is the same for each of them.
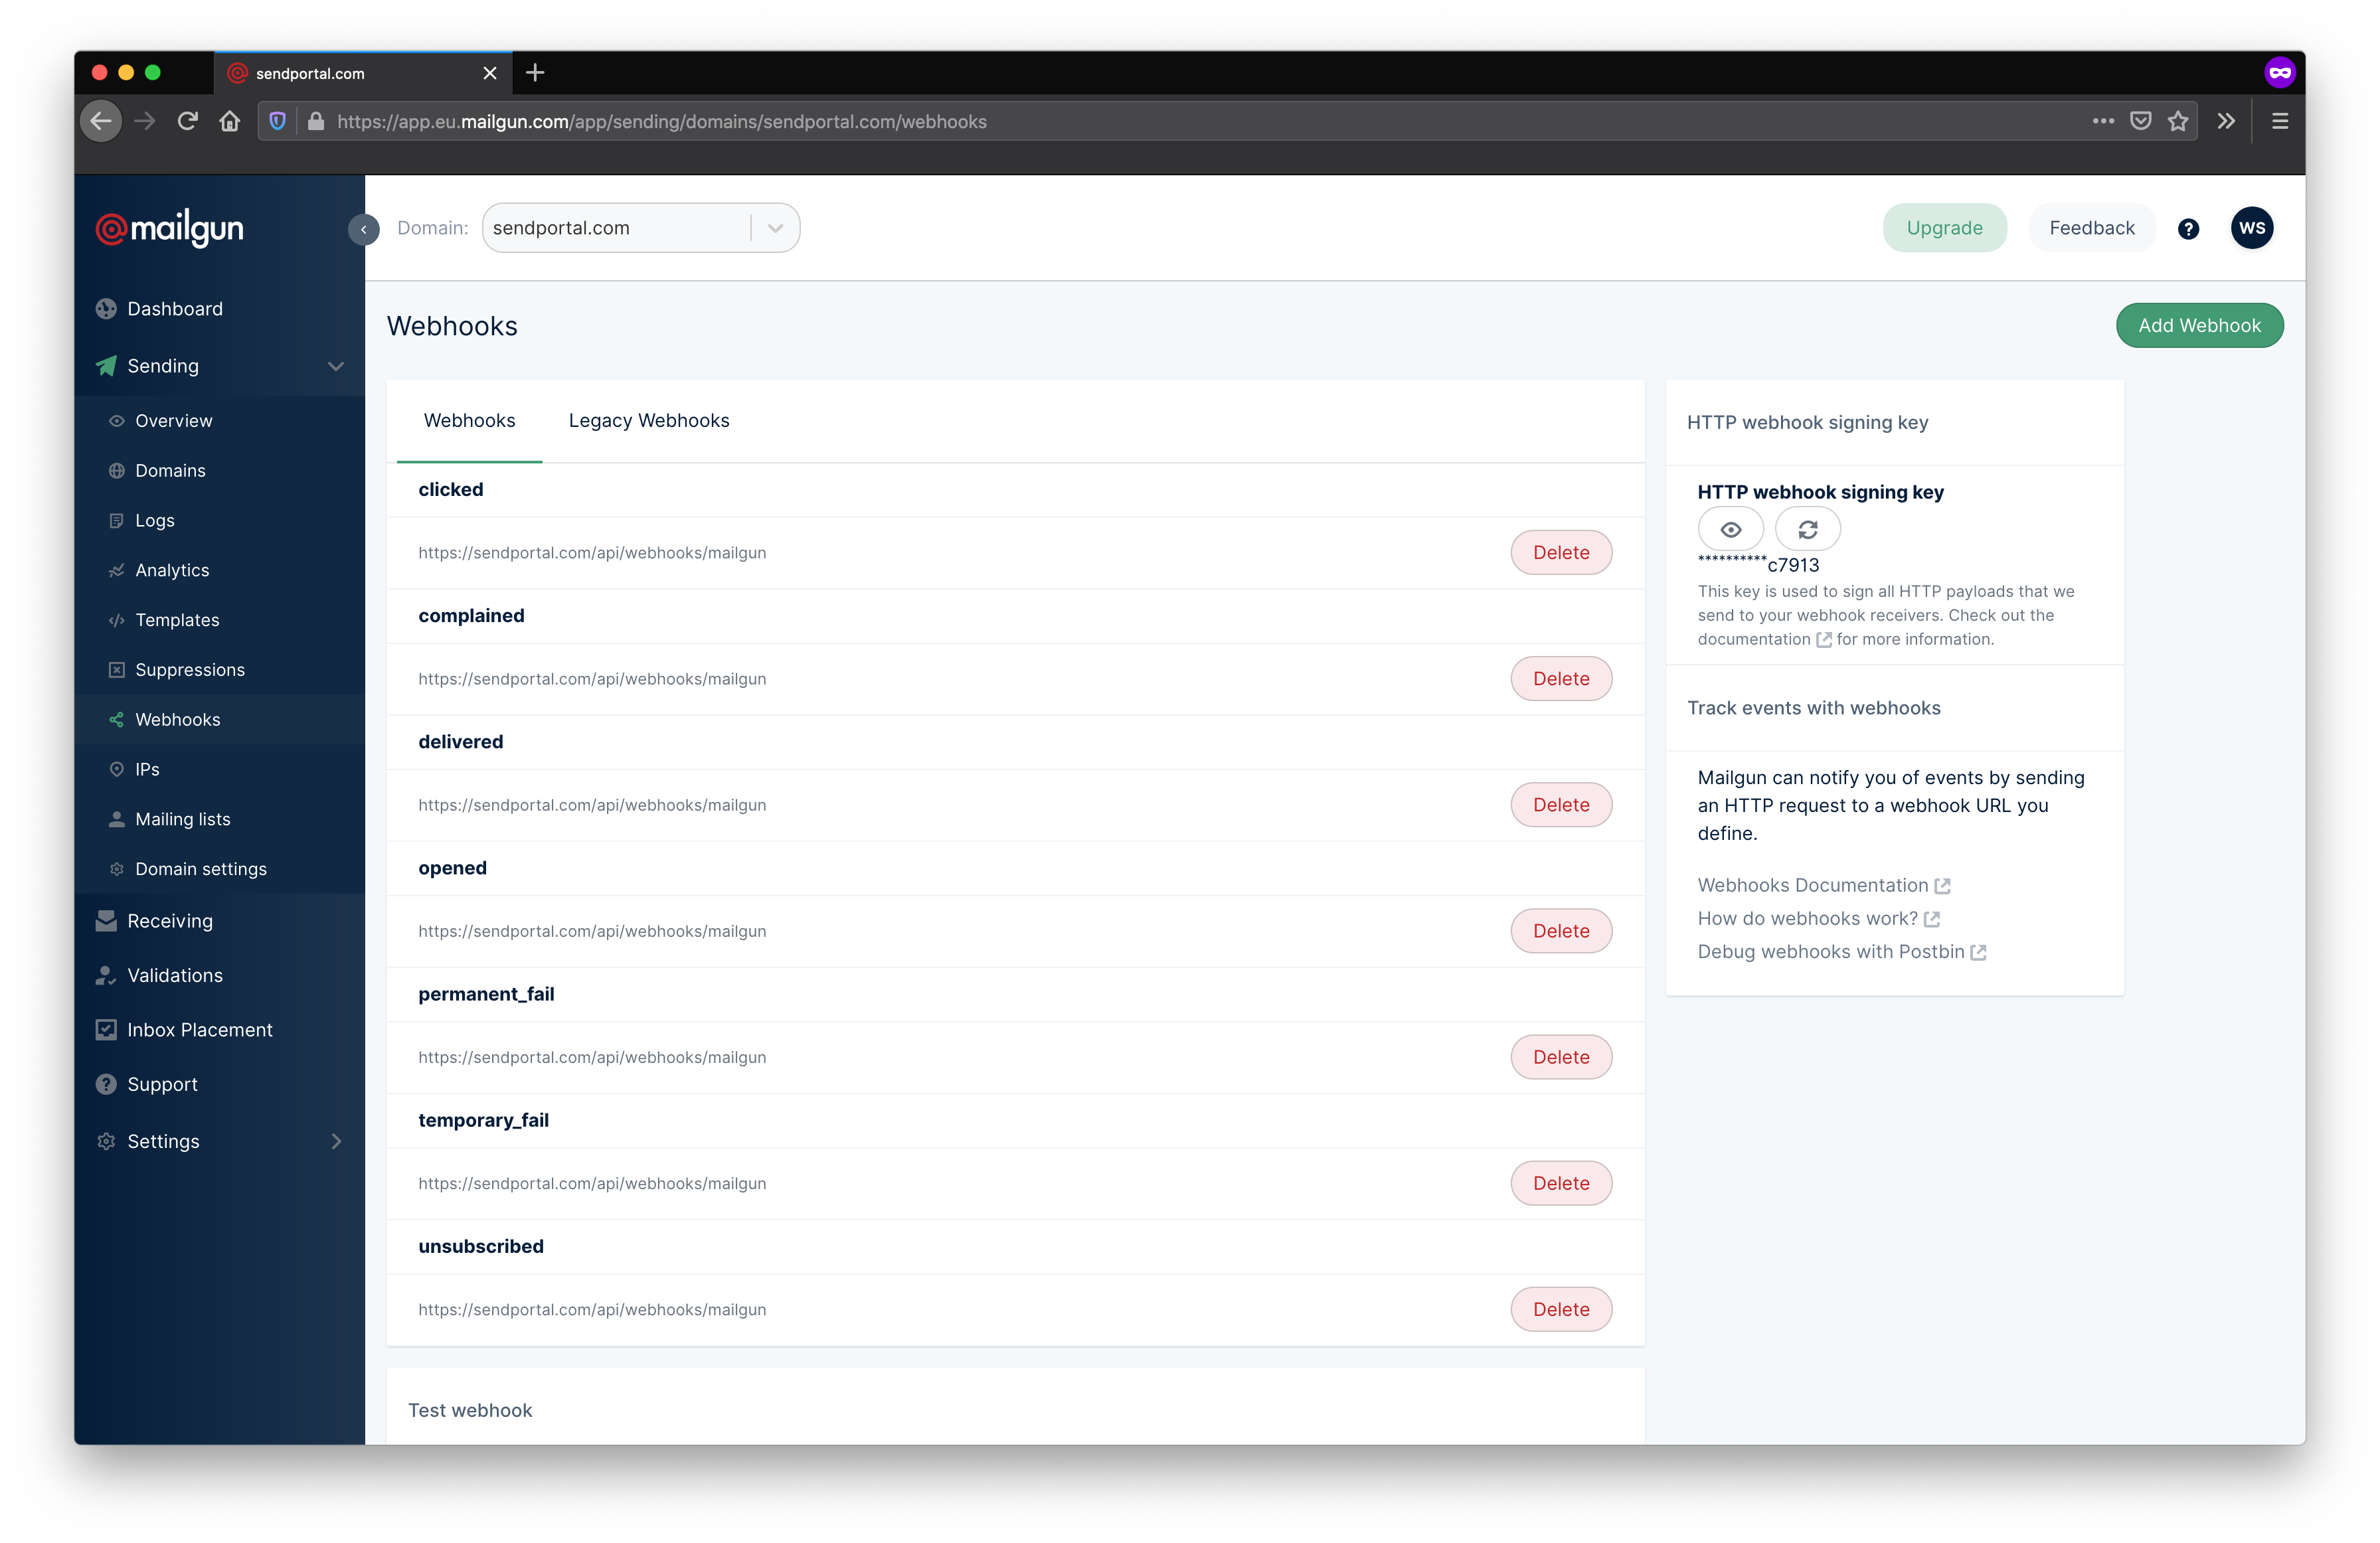
That's it! You're now setup to send and track e-mails using Mailgun.